If you are beginner and want to create a website in WordPress then first you need a local server environment where you can create your first WordPress website. So one of the most popular local server environment is XAMPP.
What is XAMPP
XAMPP is one of the widely used cross-platform web servers, which helps developers to create and test their programs on a local webserver. It’s a cross-platform tool that works on Windows, Mac, and Linux. It also supports MARIA DB and My Sql database to hold all your website information
How to install XAMPP on your computer
Step 1 : Visit the xampp website and download the xampp depending on your system configuration.
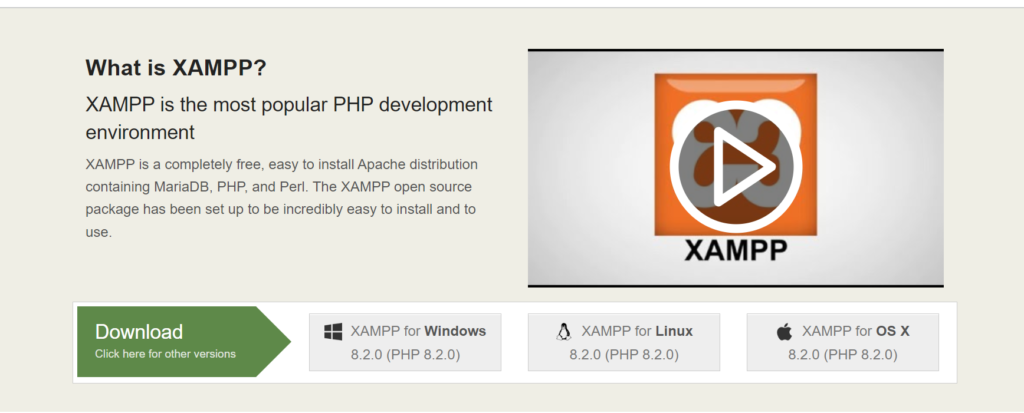
Step 2 : After the download is completed, double click the .exe extension file to start the process of installation.

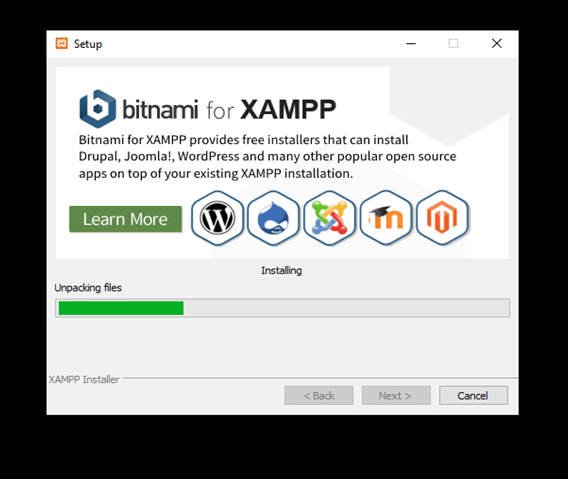
Step 3 : You can click Next through all of the initial screens until you get to the install process
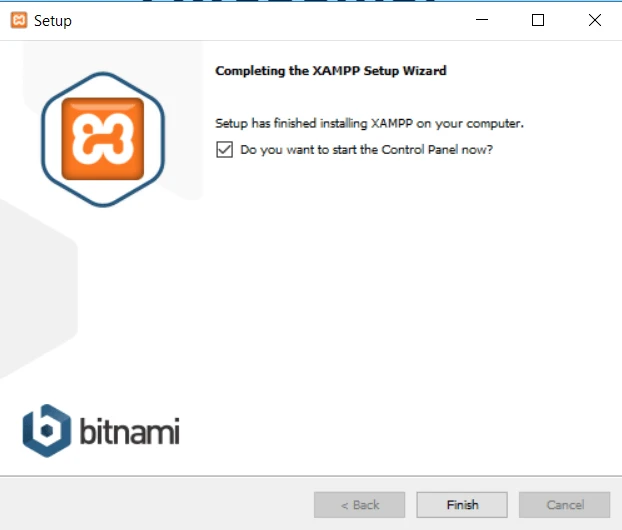
Step 4: Once it finishes, you can launch the control panel to start working with XAMPP:
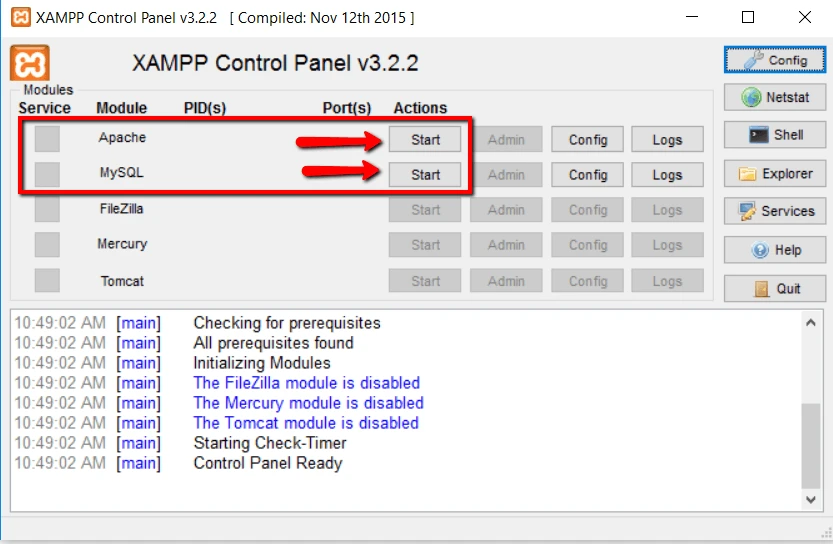
Step 5: Now run the “Apache” and “MySql” from the xampp control panel to run wordpress
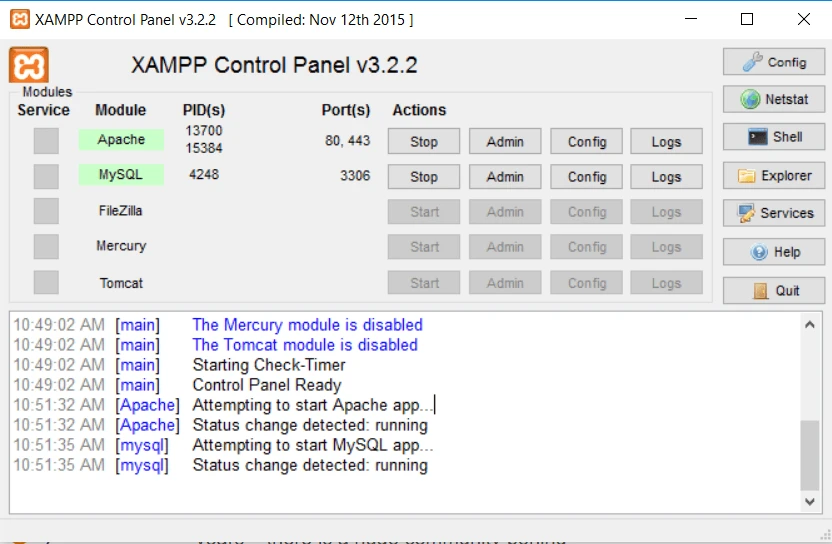
Once launched properly you should see their status changed to green example given below
Now you can check the local server is running correctly or not by running this url in browser http://localhost/
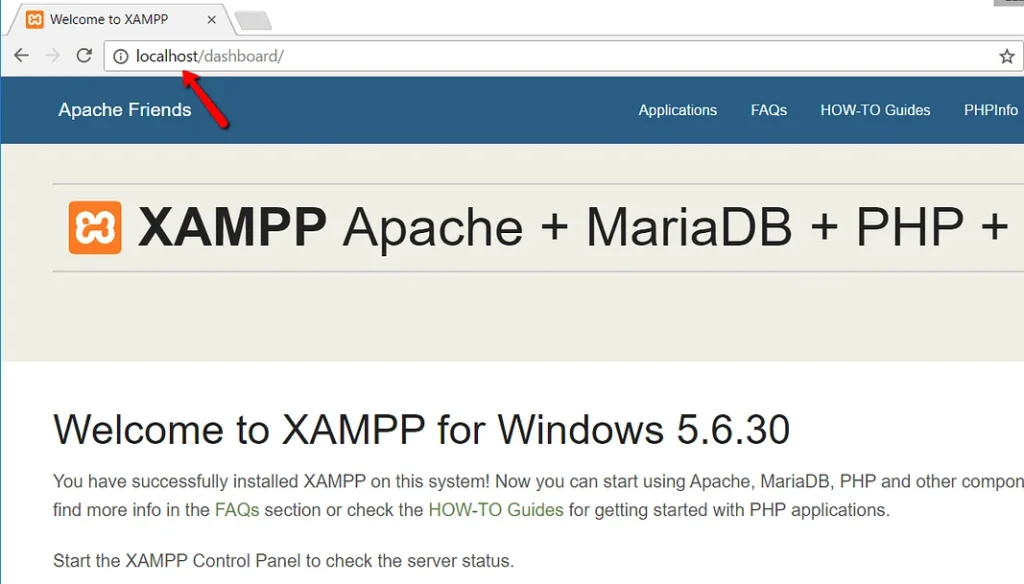
If all goes well then our local server is ready and now its time to install the wordpress.
Steps to install wordpress
Step 1: Go to wordpress.org and download the latest version of WordPress.
Step 2: Once you got the zip file go to the folder where you have installed XAMPP , for mine it is stored at c://xampp
Step 3: Go to c://xampp/htdocs folder and create a new folder and name it as your website name. For example “WpDemo”
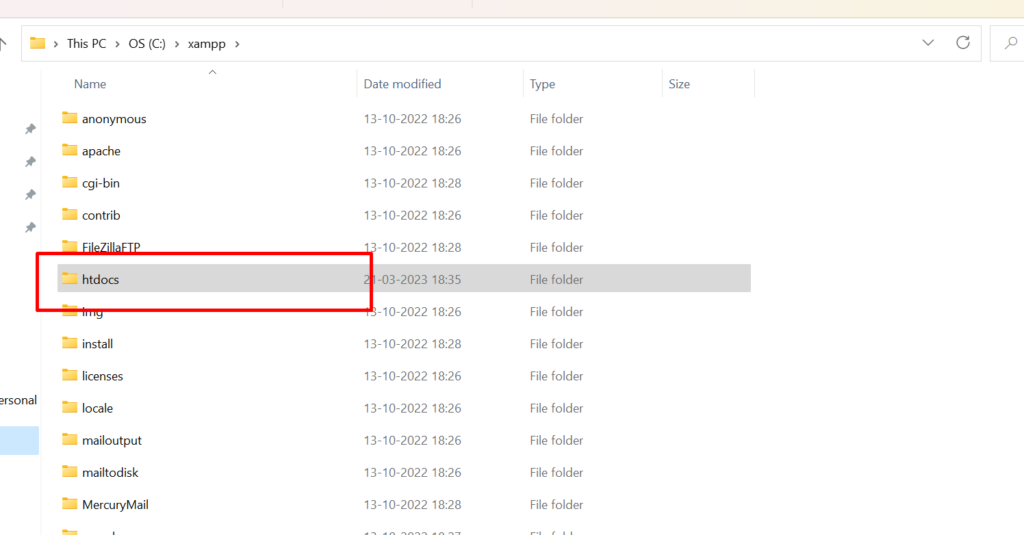
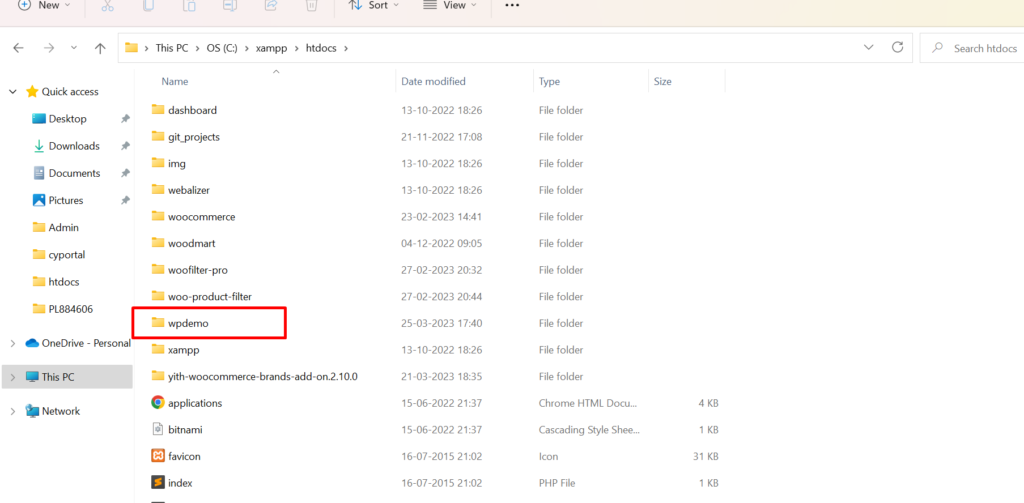
Step 4: Now extract your wordpress zip contents under this “wpdemo” folder and it should be like the following:-
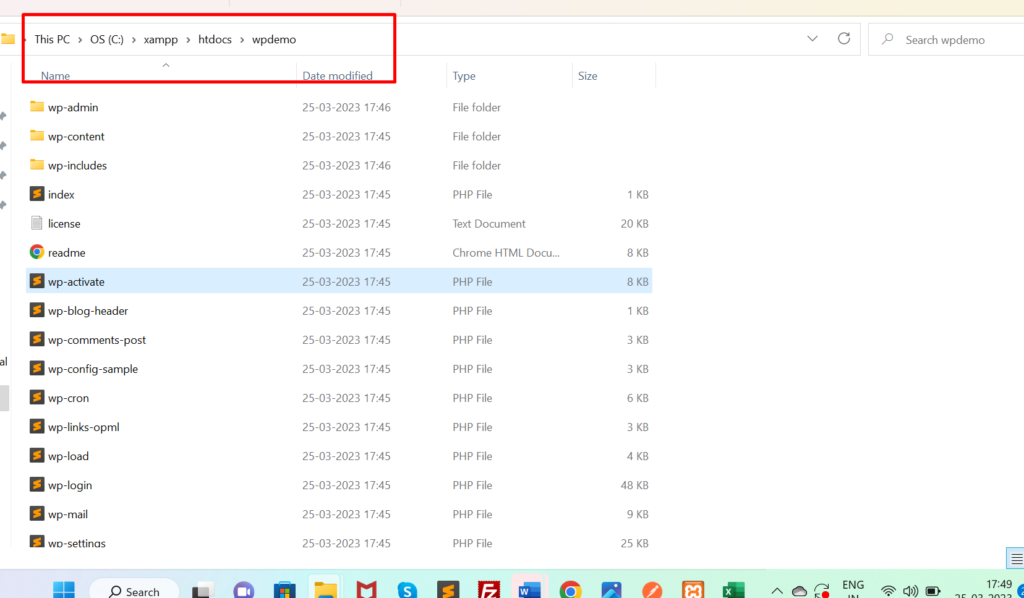
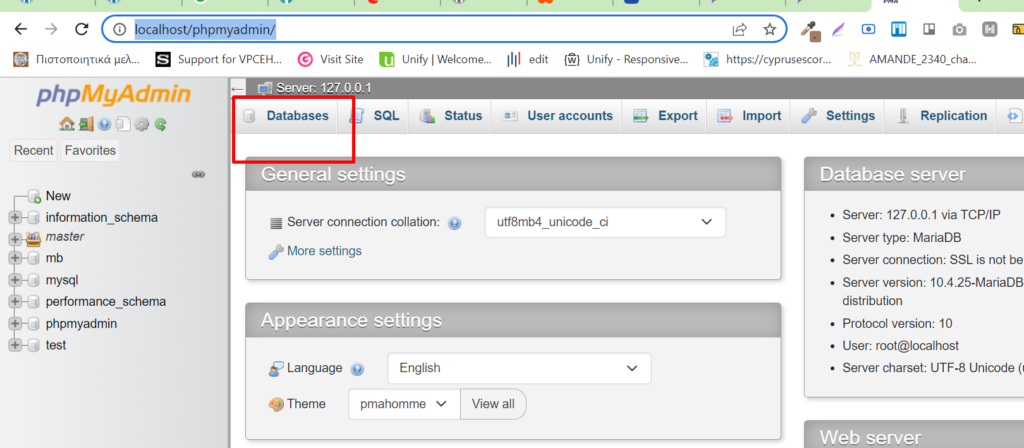
Step 5 : Now Its time to create the database, for creating your database hit this url in your browser http://localhost/phpmyadmin/ and click on “Databases”
Now enter your database name for example “wpdemo” and click on create button
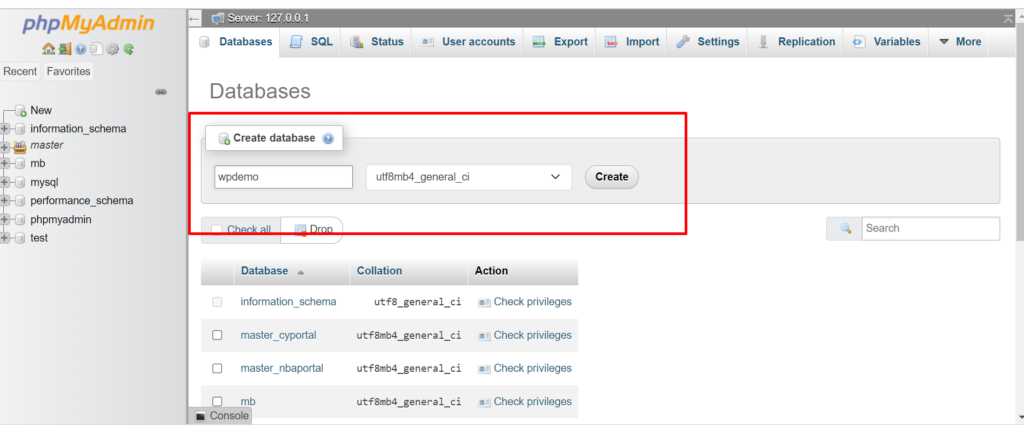
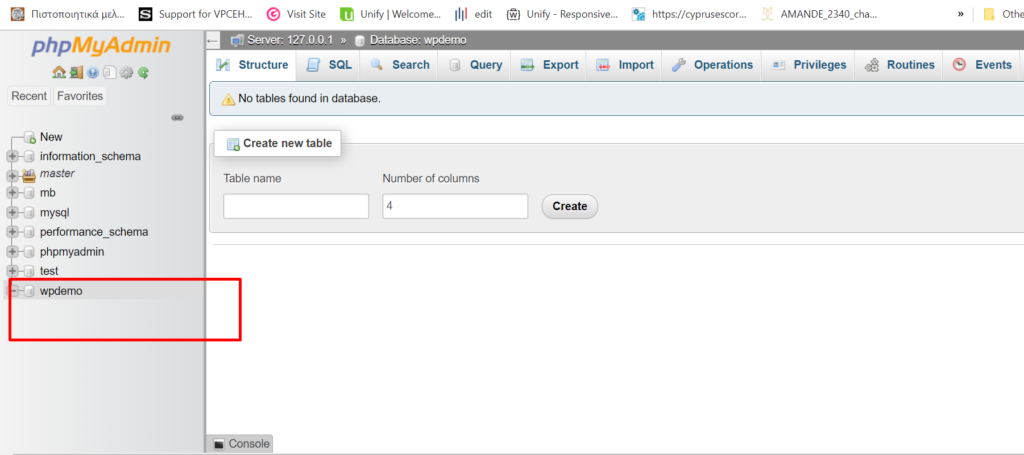
Now finally your database is created now we can proceed to install the wordpress on local server.
Step 6: To access and to install your wordpress site you need to visit this link on to your browser http://localhost/[foldername in xampp/htdocs] in our case it will be like this http://localhost/wpdemo/.
Once you visited this link http://localhost/wpdemo/ a screen appears in which you can select your preferred language and click on continue.
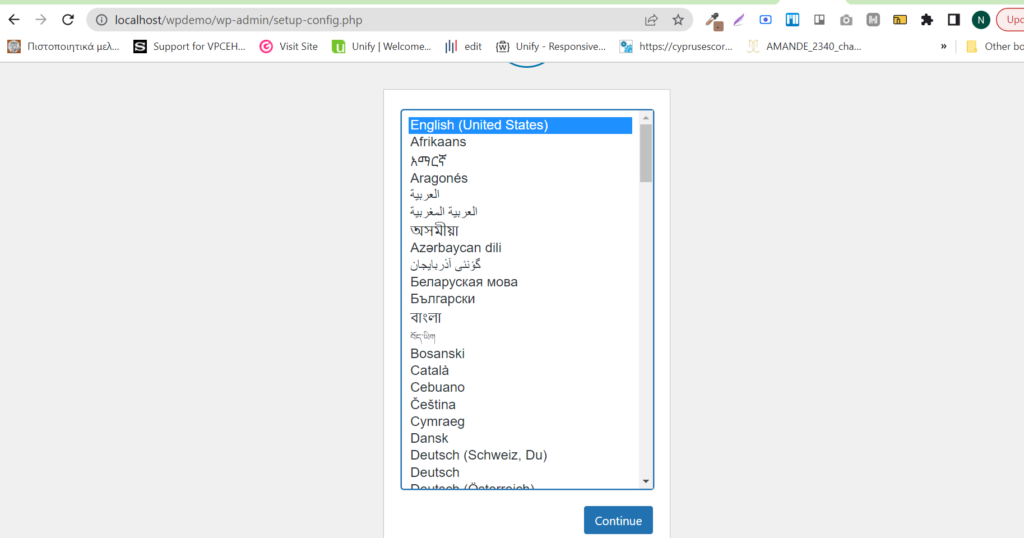
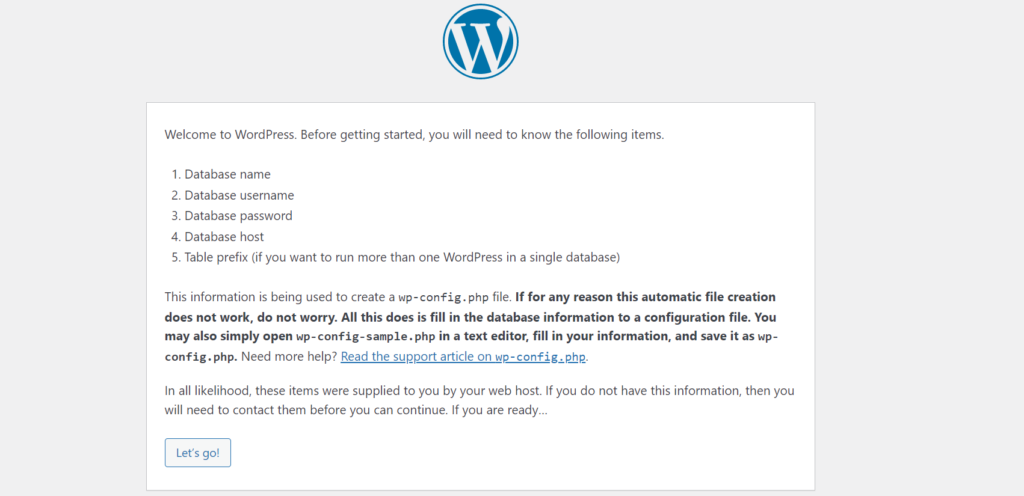
After clicking on continue , it will leads to a screen following screen then simply click on “Let’s Go” button
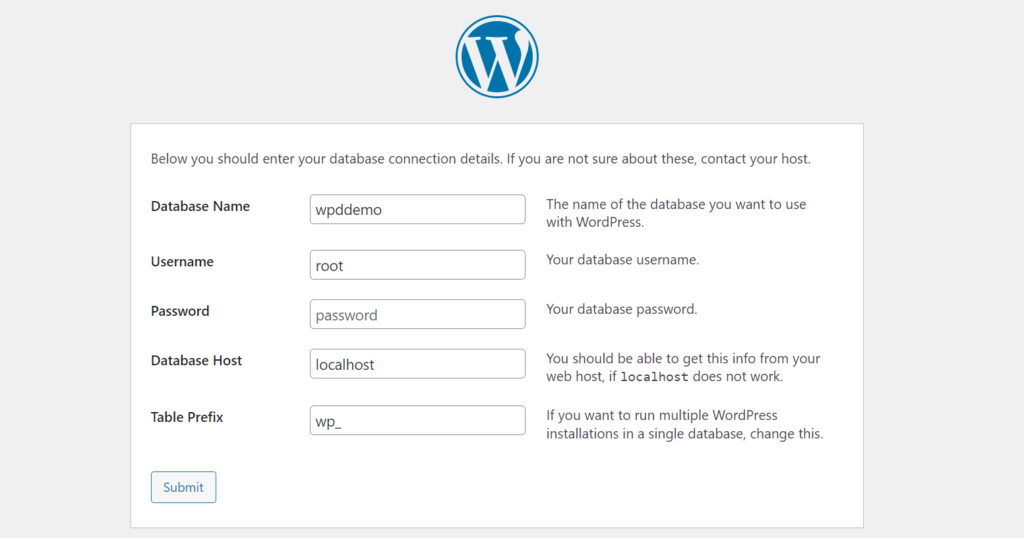
Now the following screen appears in which you have to enter the database details like the below and click on submit
Database Name = Your database name ( in our case it will be wpdemo as created above)
Username = root (its always fixed for the local server xampp, no need to change)
Password = Leave it blank
Database Host = localhost
Table Prefix = wp_ is the default prefix for the tables , you can also change it if you wished too
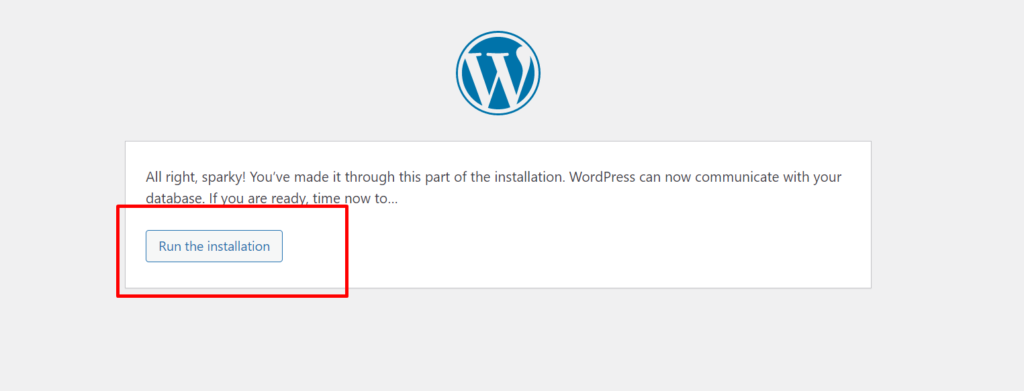
Now Click on “run installation” button
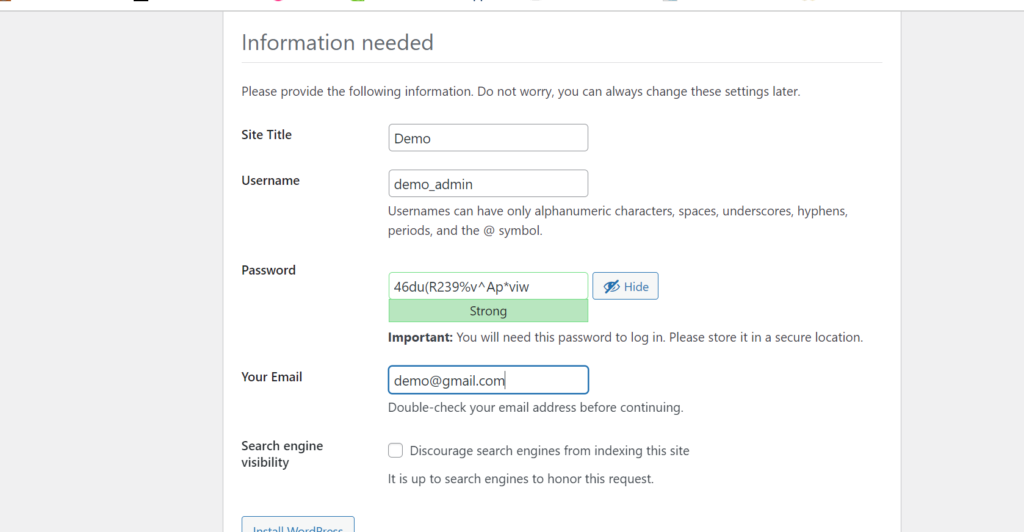
Finally you need to enter your site details like site name and create username/password for the WordPress back end accessibility and then click on install WordPress button.
Tip: Please make sure you save the password and username so you can login into the backoffice and also the email entered should be verified email in order to recover your password and for receiving important notifications from WordPress
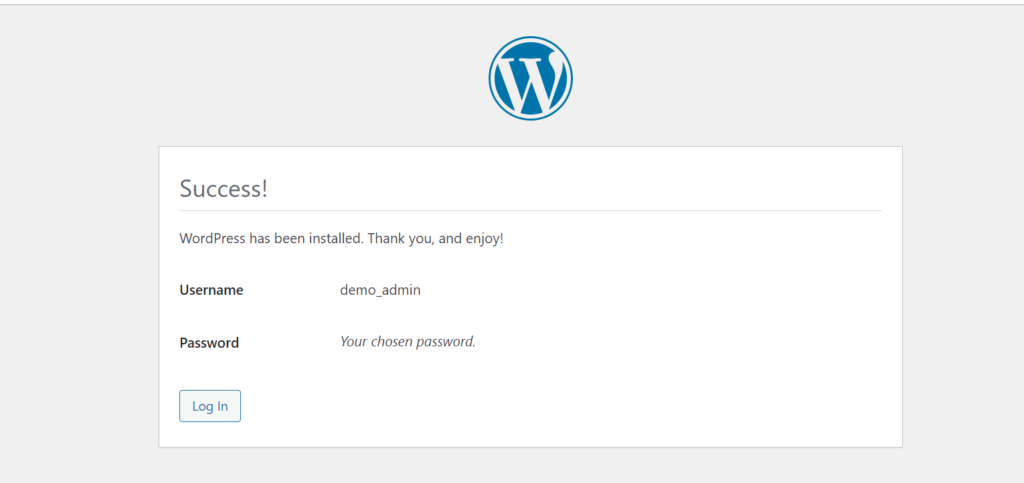
Finally the WordPress is installed and now you can login with credentials which you have created above.
After logging into with your credentials you will see the wordpress dashboard like below
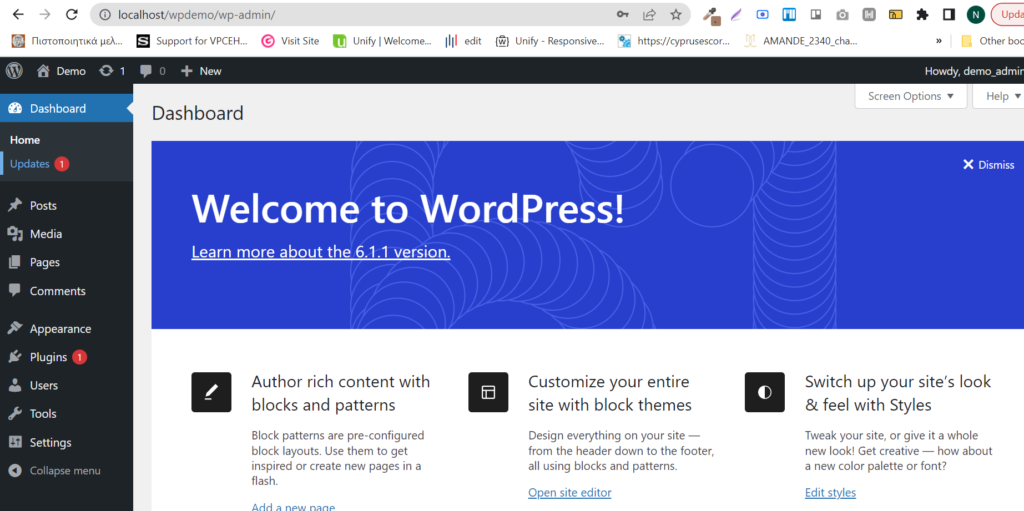
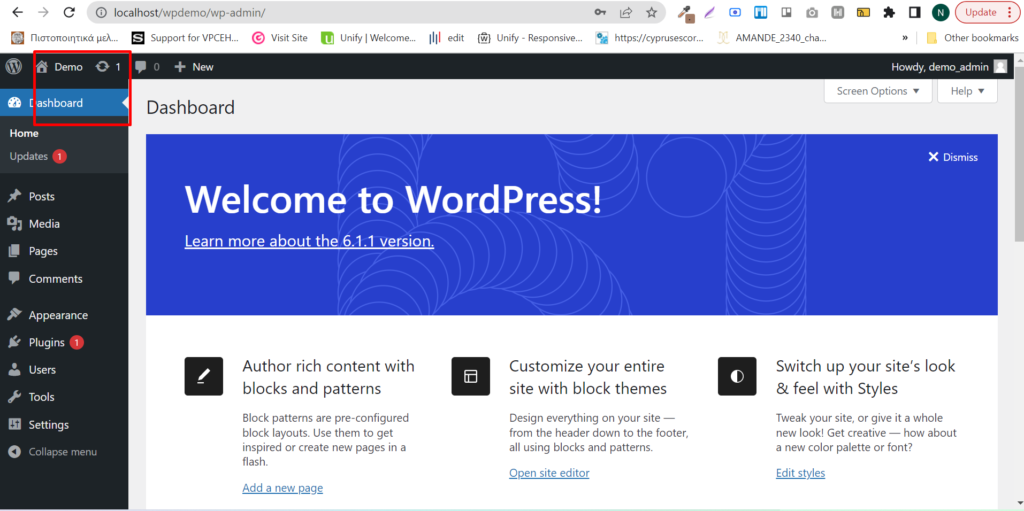
Now you can play around with all the options in WordPress back office and create your new WordPress site 🙂
We hope this article helped you learn how to install WordPress using XAMPP. If you have any questions you can leave your comments.
If you liked this article, then please subscribe to our YouTube Channel for more WordPress video tutorials.
Thanks for reading this article!


